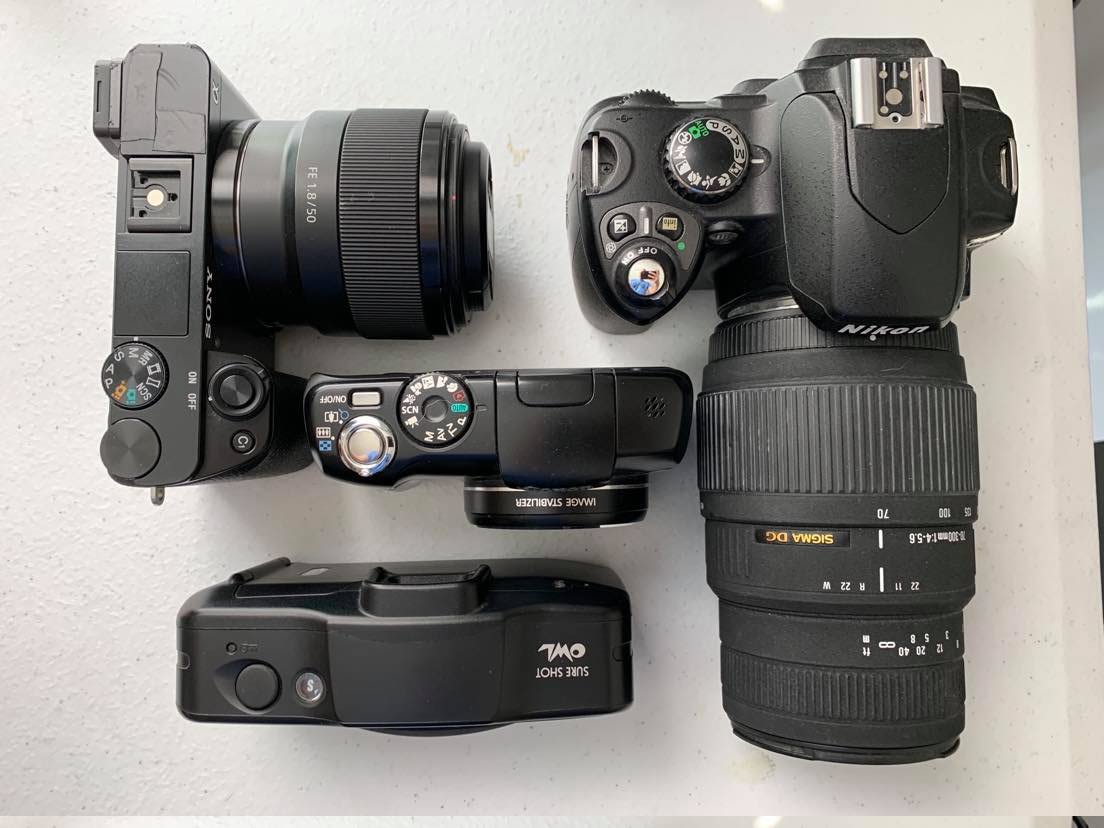
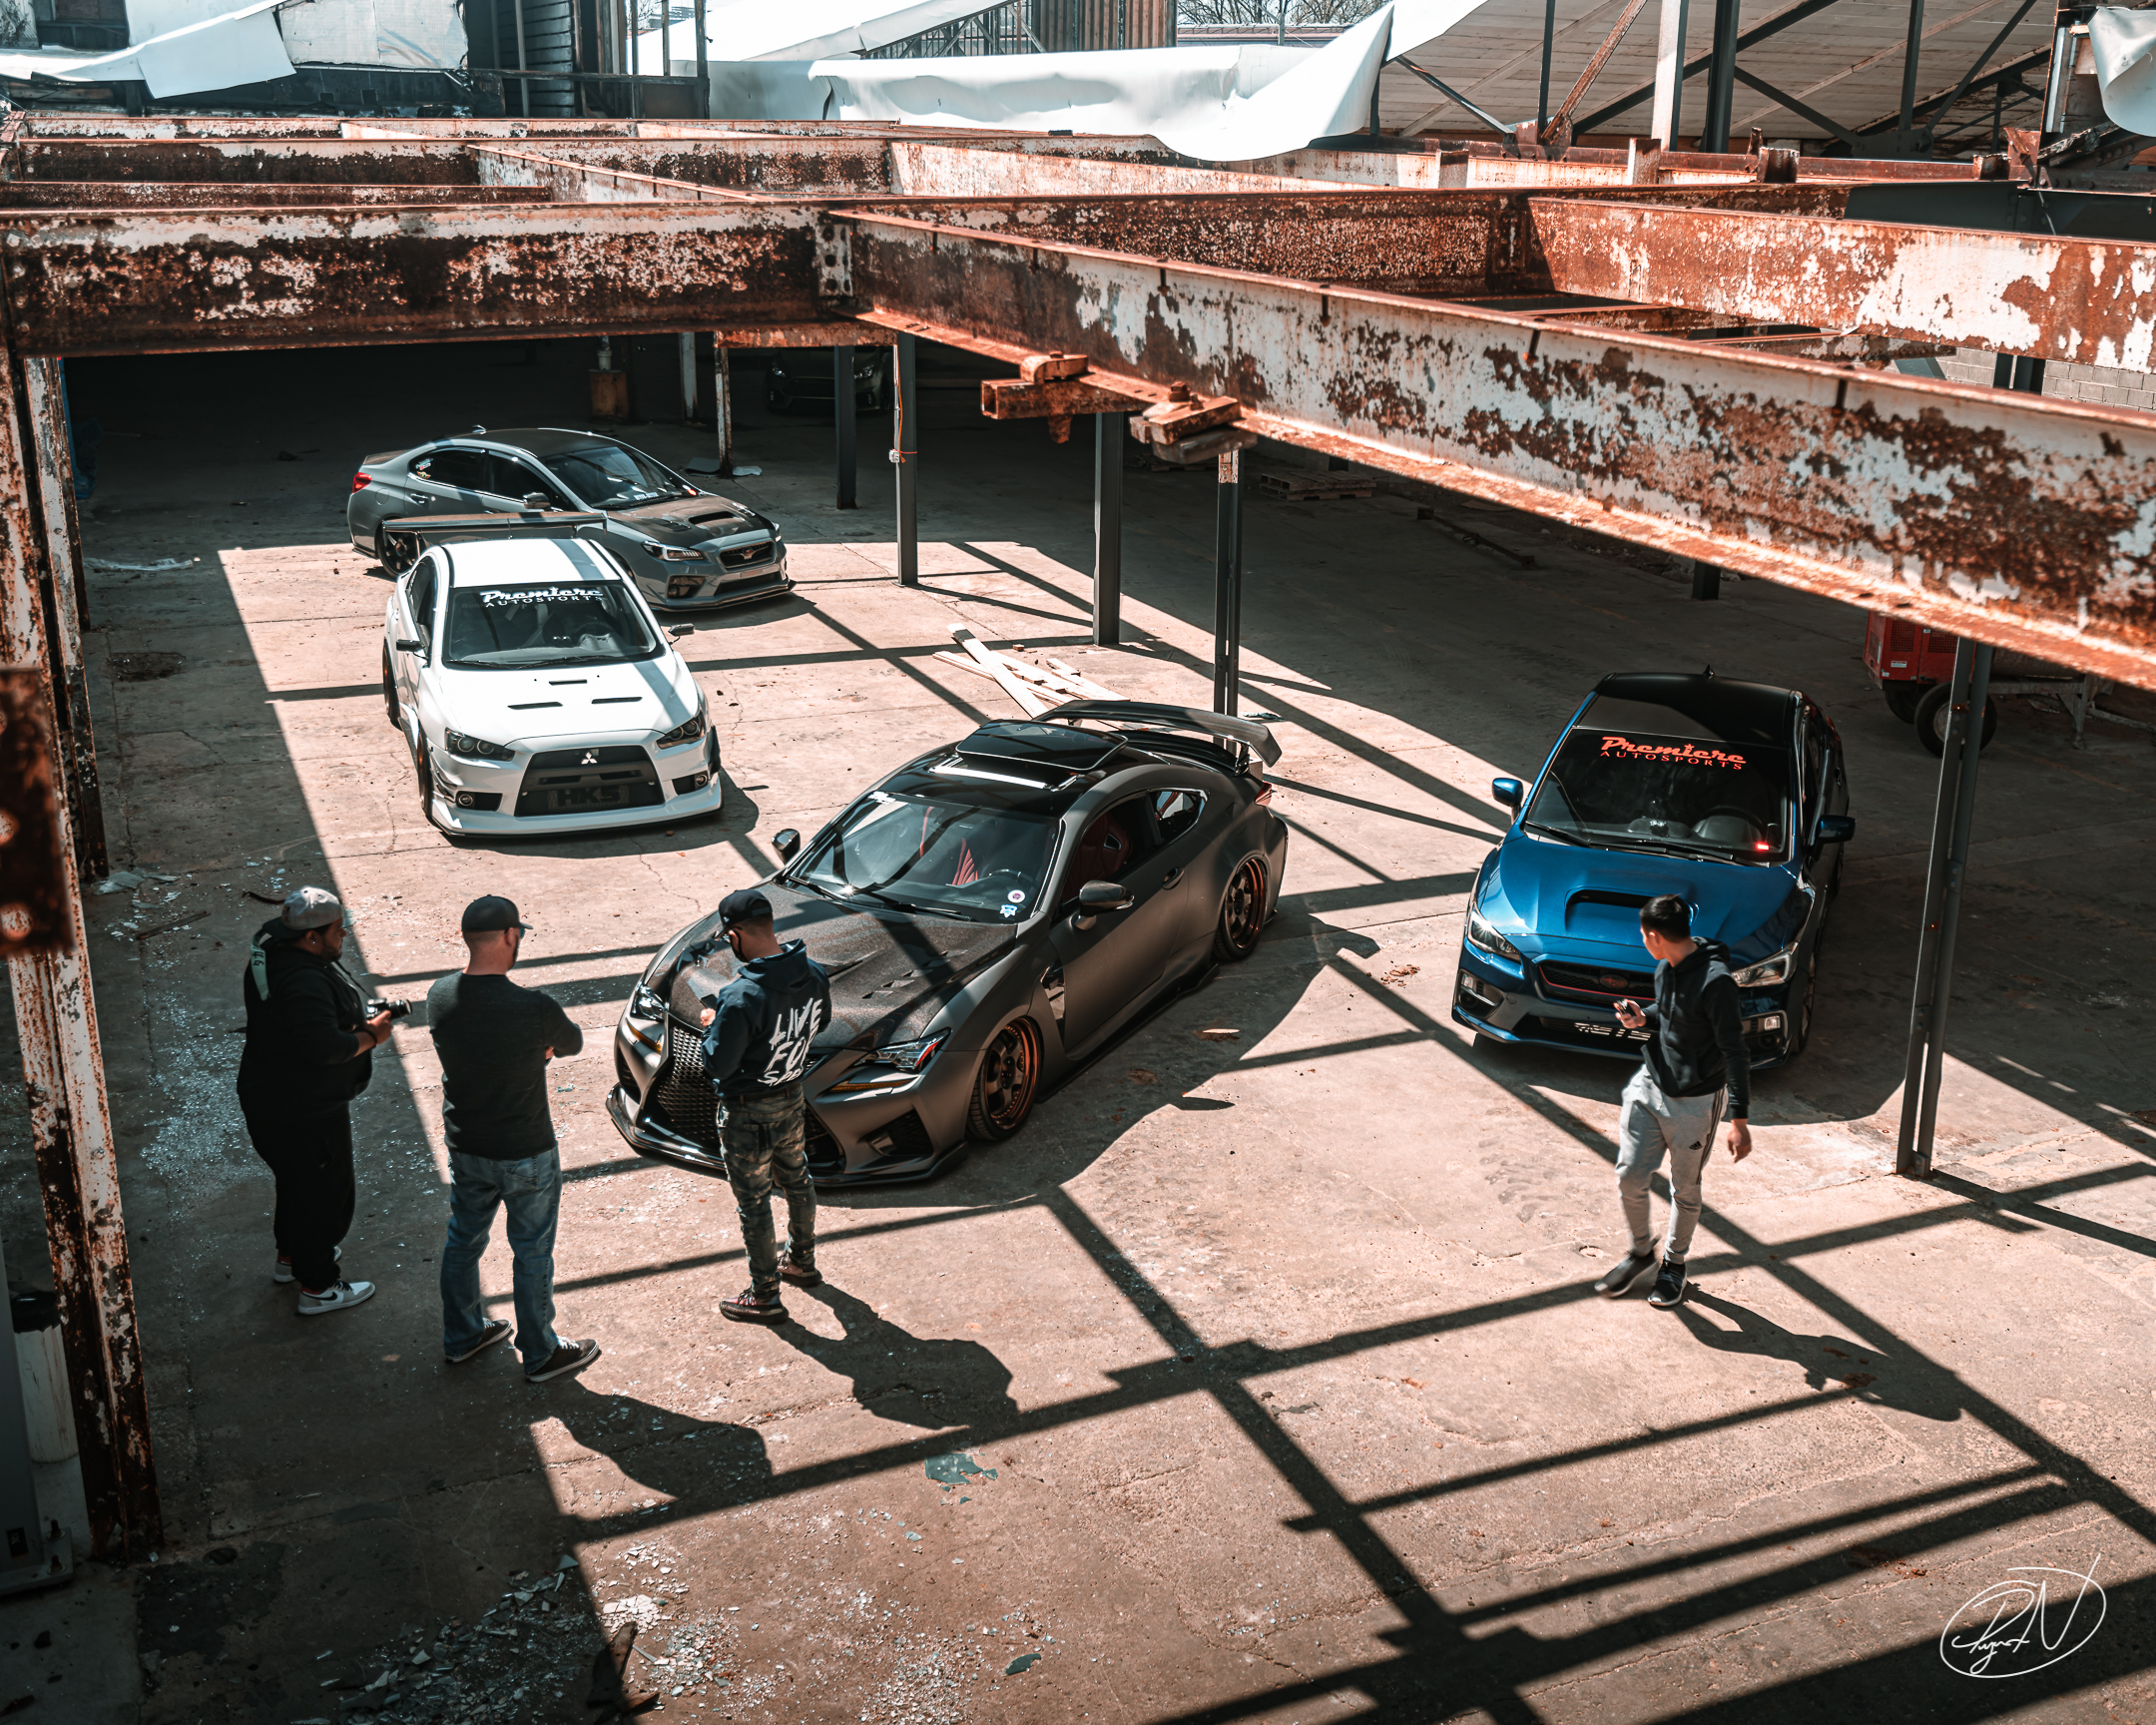
Here is list of common terms you will hear as you get into automotive photography.
Shutter Speed
Shutter speed refers to how fast the camera takes the photo. To keep it simple, when you hit the shutter button, the lens “closes” to whatever aperture you set, then the image sensor “records” what it sees. Faster shutter speeds freeze motion while slower shutter speeds produce more motion blur.
ISO
ISO, which stands for International Organization of Standardization, refers to how sensitive the image sensor is in the camera. If you’re shooting at ISO 100 your photos will be darker than if you’re shooting at ISO 1600. Higher ISO numbers will also produce more noise or grain in your photos so typically a lower ISO is almost always more ideal.
Aperture
Essentially how much the blades inside the lens close. If you’re shooting at f/1.8, the blades don’t close very much at all. If you’re shooting at f/22 they’re going to close a lot more. Another thing to keep in mind is the lower the f/ number, the more blurry the background is going to be. You will also have a very shallow plane of focus. What this means is if you’re shooting at f/1.8 for example, the front of the car might be in focus but the back will not be. One other thing to consider is shooting at f/1.8 means you’re going to let a lot of light in so you’ll have to shoot at a faster shutter speed or a lower ISO.
CPL (Circular Polarizer)
A filter that screws on to the end of the camera lens. This rotates to cut out reflections on cars. Typically you will set it to cut out the reflections on the hood/top, take a picture, then rotate it to cut the reflections out on the side, then take another picture. Afterword’s, you’ll combine the layers in Photoshop/gimp to cut the reflections out on the whole car.
HDR (High Dynamic Range)
HDR is a type of photography that involved combining multiple exposures in order to capture details in the extremely bright areas of the photo and the very dark areas of the photo. For example, if you are shooting a car and there’s a sunset behind the car, you won’t be able to properly expose for the photo. The way I would go about this is taking three separate photos. Photo 1: Base photo – Everything as properly exposed as my camera can handle. I’ll probably lose details in the sky and shadows, but that’s okay. Photo 2: Highlights – Here I would expose for the sky, or the brightest part of the photo. The shadows will probably have no details, but again, that’s why we’re going to take multiple shots. Photo 3: Shadows – Last I would expose for the shadows (which is usually going to be wheels, grill, etc.). For this shot, your sky is going to be very bright and you won’t much or any details. Finally, combine all the photos in your choice of editing software. For example, I would load all in Photoshop as different layers. Next, I would build off Photo 1 (base photo). For the dark areas, I would start to mask out the shadows so that you see the base photo, but the dark areas will be “erased” so that photo 3 (shadows) will be seen. Then I would do the same thing for the highlights. It’s hard to explain this without showing, but this is a rough idea of how HDR would typically work.
Camera Shooting Modes
Typically, you’re going to hear about “auto” and “manual” a lot in any photography group. Here’s what they mean, and an example of when to use them.
AUTO (CAMERA ICON THAT SAYS AUTO)
Auto is what almost everyone is starting out using. The camera will pick out what ISO, aperture, and shutter speed to use. Since the camera makes all the decisions, it’s going to do what it can to give you the most properly exposed photo. You can’t change anything in this mode, other than zooming in and out so you are limited when it comes to taking a photo.
MANUAL (NIKON, CANON, SONY = M)
Manual is going to give you the option to change all of the settings when shooting. Typically you’ll set your ISO, then tweak the shutter speed and aperture to get the photo you want. If you’re wanting to blur the background, you’ll lower the aperture. Want more motion blur for a rolling shot? Slow down the shutter speed. Keep in mind that all three of these will affect one another. If you slow down your shutter speed, you’ll need to shoot at a lower ISO and/or shoot at a higher aperture. Want to blur the background? You’ll open up the aperture to f/2.8 or something, you’ll need to bump up the shutter speed.
APERTURE PRIORITY (NIKON, SONY = A, CANON = AV)
I typically shoot in manual, but when I’m not, I’m most likely using aperture priority. When you shoot in this mode, you only change the aperture and the camera will adjust the shutter speed to properly expose for the photo.
SHUTTER SPEED PRIORITY (NIKON, SONY = S, CANON = TV)
This is essentially the same as aperture priority, but instead of changing the aperture, you’re changing the shutter speed and letting the camera take care of the aperture.


